cleaning burnt saucepans

How to Cleaning Burnt Saucepans

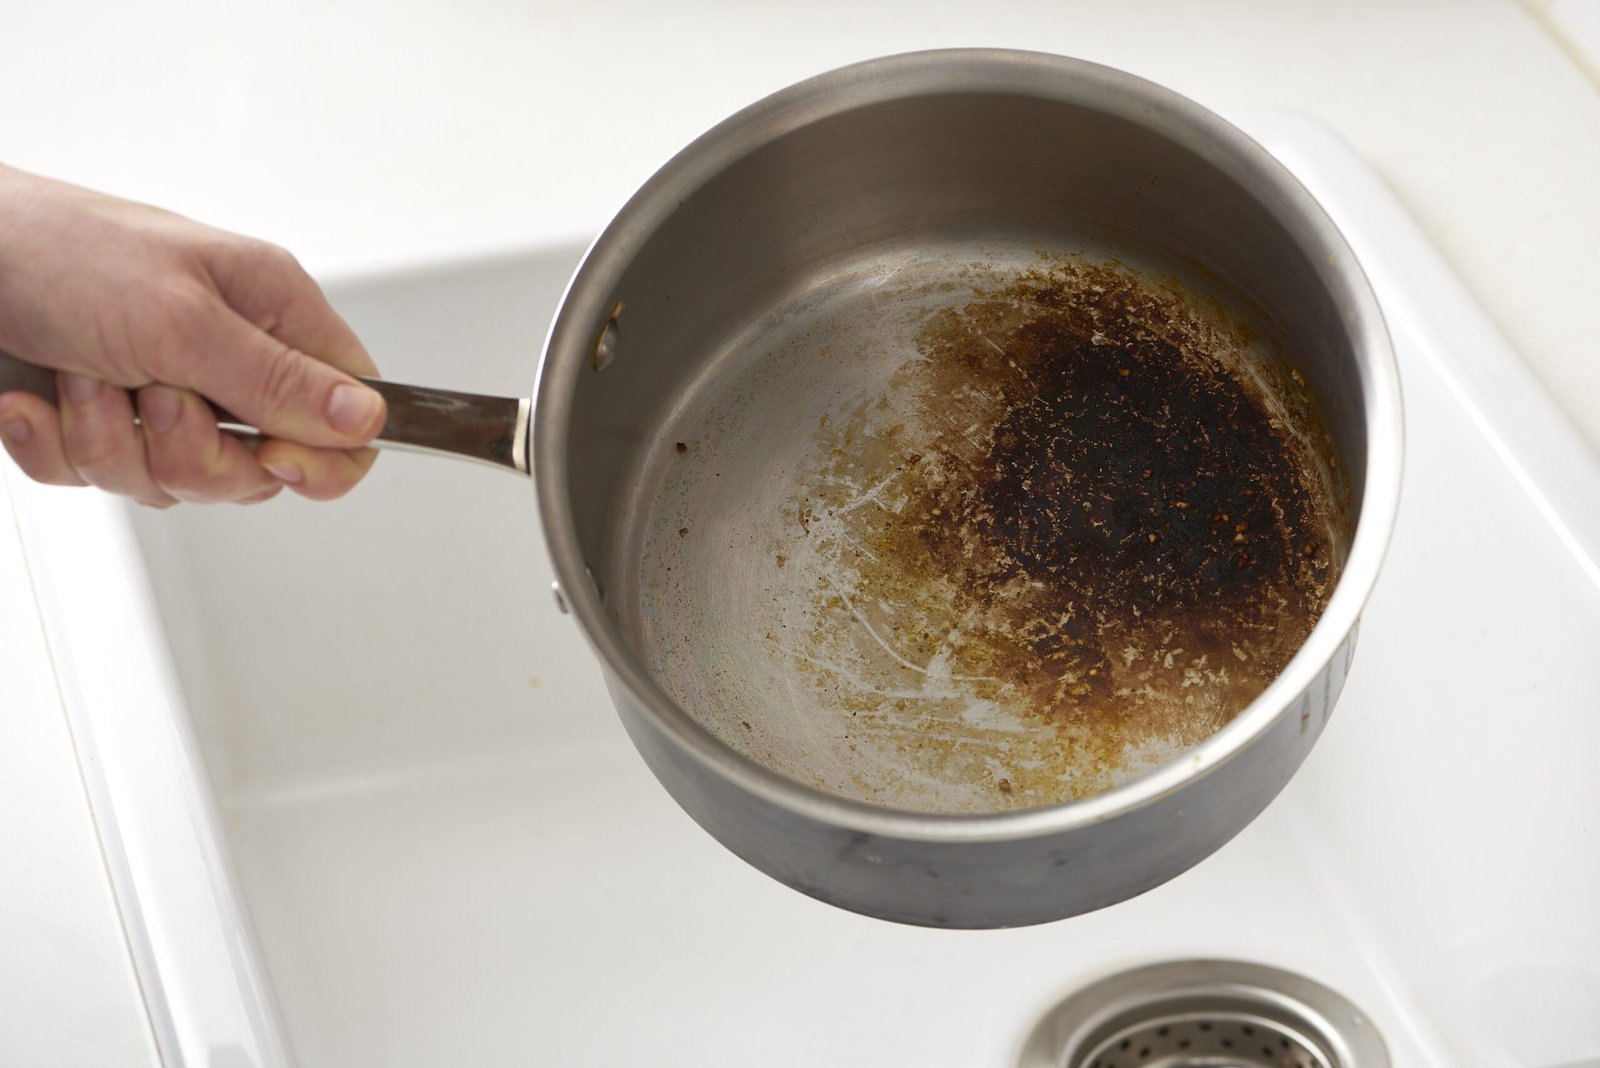
Every once in a while, you may happen to overdo your efforts when cooking and you can end up with a scorched saucepan. Aside from the obviously ruined meal, now you have to also deal with burnt-on grease and waste even more time in the kitchen.

What most people do in this situation is start scrubbing as aggressively as they can to remove the burnt food. While sometimes it works, most of the time it doesn’t. Fortunately, there are easier ways which also don’t require as much elbow grease.

If you:

  • Have a brand new pan which you, unfortunately, managed to scorch
  • Have tried soaking the burnt pan with water and soap, but got mixed results
  • Have tried boiling with dishwashing powder and water, but still got mixed results

Then read along!

A saucepan can be made from a variety of materials such as stainless steel, aluminium and have a non-stick coating. Whether it has a coating or not, these methods can still work.

The boiling saucepan method

  1. Let it cool.
    Let the pan cool down at room temperature.
  2. Scrape.
    Scrape off as much of the charcoal as you can with a damp rag.
  3. Soak.
    Pour white vinegar into the pan to cover the scorched areas. An alternative to this is baking soda, dishwashing liquid and water.
  4. Boil.
    Place the pan on a hot hob and let it boil for about 10 minutes.
  5. Cool.
    Allow the pan to cool down and dump the liquid down the sink.
  6. Wipe.
    Wipe the burnt bits away with a sponge or brush. A scourer may damage the non-stick coating of the pan, so we don’t recommend it.
  7. Wash.
    Wash the pan as you normally would after all the scorch marks have been removed.

24-hour wait method

  1. Scrape.
    Scrape out as much charcoal as possible.
  2. Fill with hot water.
    Fill the dirty pan with boiling water, add several tablespoons of baking soda and mix.
  3. Let it sit.
    Let the pan sit with this solution overnight or better yet, for about 24 hours.
  4. Wash.
    Throw away the solution and wash your pan as normal.

How to clean your kitchen sink afterwards

Needless to say, all the burnt material will leave quite a mess in your sink and sink drain. Should you decide to clean it after the pan, consider these steps:

  1. Remove any leftover food from the basin.
    That goes for dishes as well. Wash them before moving to the next step.
  2. Wash the sink basin.
    Use dishwashing soap, warm water and a sponge. Start from the sides, so the grime and filth slips into the drain.
  3. Clean the drain. All you need in this case is hot water. Pour it down the drain, so the food build up loosens and bad smells go away.

Hire professionals

If you think this task and many like it are too time-consuming and tiresome, then why not let ShiningOven help you? The technicians we work with are all trained and very experienced in the field of domestic cleaning. They also bring their own detergents and tools to tackle even the nastiest cleaning job.

How to clean chrome taps

How to Clean Chrome Taps

Chrome taps look very elegant and neat when they’re clean. However, when covered in water spots and soap scum, they give your entire bathroom or kitchen a poorly kept look. Fear not, cleaning chrome plated taps is way easier than it seems.

If you:

  • Have a few old taps which are in need of some serious cleaning
  • Wonder what products will give you the best results
  • Are looking for ways to maintain your chrome tap immaculate

Then read along!

Important: chrome is a soft metal and thus can be easily scratched. For that reason, never use abrasive materials when scrubbing stains off it. If you decide to use a commercial product, be sure it’s suitable for chrome.

How to clean chrome taps with soap and water

If your chrome taps only need a light cleaning from dust, then do the following.

  1. Mix dish soap and warm water into a small container.
  2. Dip a cloth or non-abrasive sponge into the mix.
  3. Scrub the chrome and rinse the cloth frequently.
  4. Finally, rinse the taps from any residue with clean water.

How to clean chrome taps with lemon

Lemons can clean plenty of items in your home, and the dirty chrome taps are no different. You will only need several lemons and a microfibre cloth. Usually, 2 or 3 lemons should be enough for a regular-sized home.

  1. Scrub the tap using the pith of the lemon and apply pressure.
  2. Change lemons as frequently as needed.
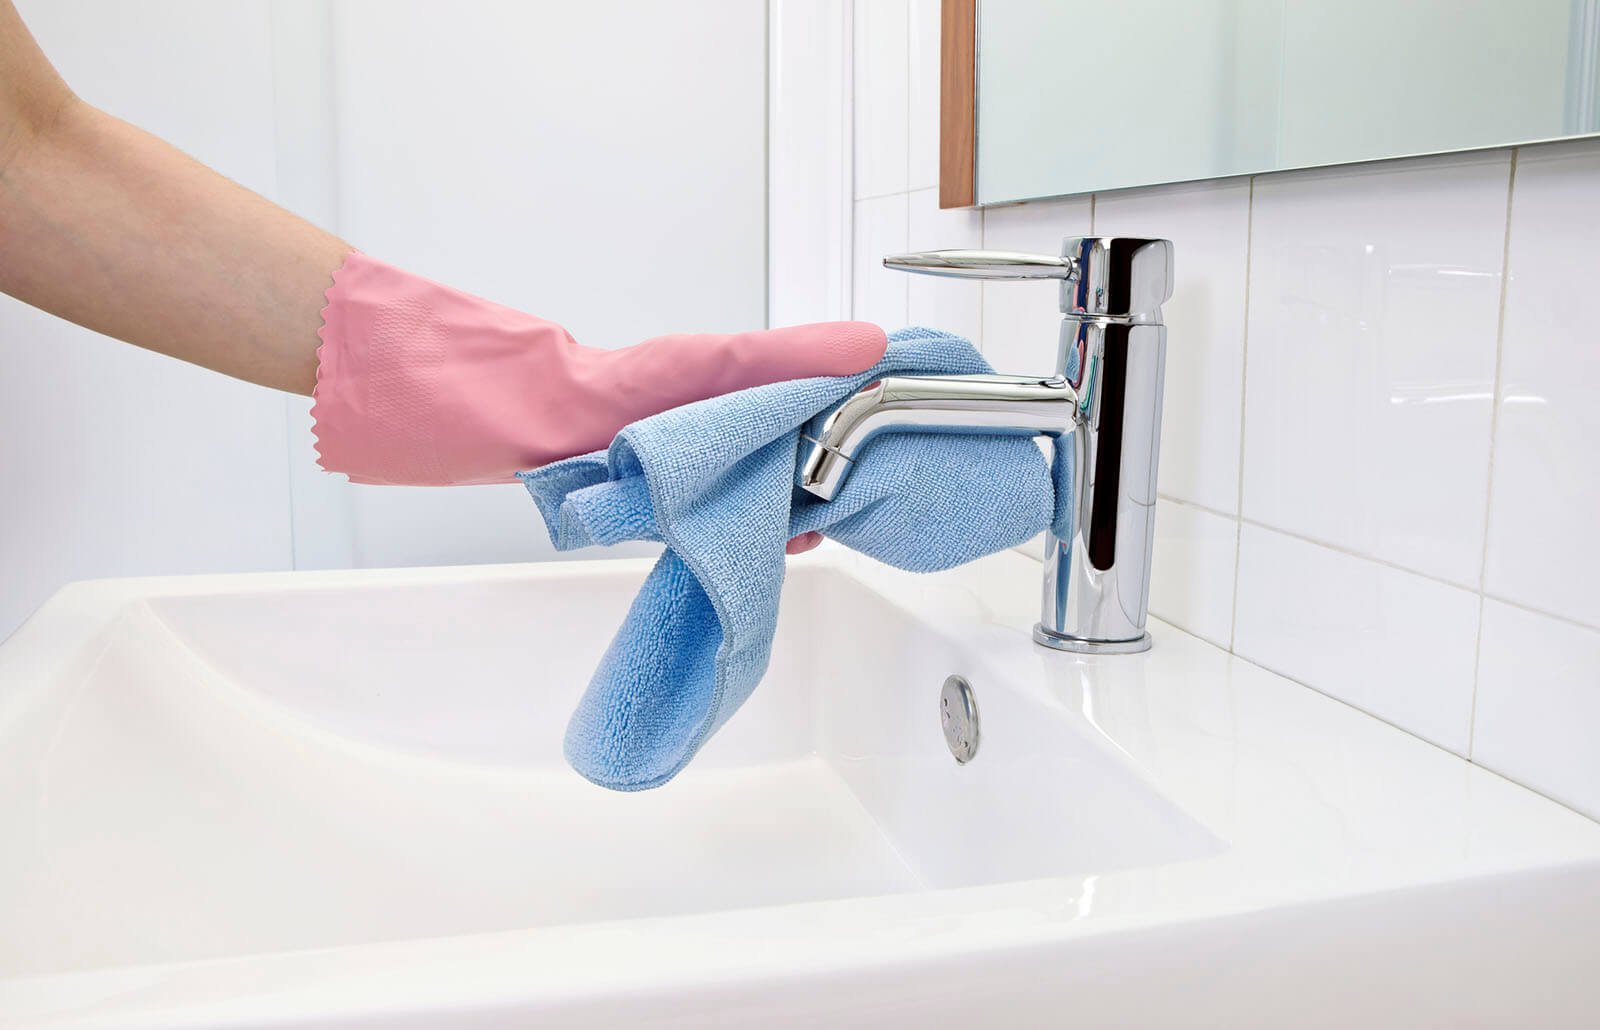
  3. Wipe away any residue with a microfibre cloth.

Tip: The lemon acid also works great against limescale build-up. All you need to do is dilute some freshly squeezed lemon juice in the same amount of water. Dip a clean rag into it and tie the rag around the tap. Return after a few hours and scrub the tap with a non-abrasive rag.

How to clean chrome taps with baking soda

If your chrome taps have some tough stains, then baking soda should remove them. For this job, besides sodium bicarbonate, you will also need distilled water and some microfibre cloths.

  1. Make a paste – mix a tablespoon of distilled water and baking soda. If it’s too runny, you’ve added too much distilled water. To make it even, add more baking soda.
  2. Spread the solution on your chrome taps.
  3. Wipe away – applying gentle pressure, wipe away the solution.
  4. Rinse – rinse the taps with distilled water. Don’t use regular water, as it will leave new mineral deposits.
  5. Buff – buff the taps with a fresh, clean microfibre cloth.

How to clean chrome taps with white vinegar

Much like baking soda, white vinegar is the other most popular and almost universal ingredient in your home.

  1. Mix equal parts of white vinegar and water in a small container.
  2. Dip a clean rag into the solution.
  3. Tie the rag around the spout with a rubber band. Leave it there for about 15 minutes.
  4. Clean the tap base and handles by using an old toothbrush dipped into the solution.
  5. Remove the rag around the spout and wipe it down with a fresh dry cloth.

A few words on rust spots. Rust spots are easy to remove from chrome surfaces. All you need to do is crumble a piece of aluminium foil, dip it in some water and scrub with medium force. Some people use white vinegar instead of water and that works too.

Maintenance tips

If you live in an area with hard water, you will get limescale build-up on your taps over time. The best solution is to install a water softener, but that’s a large investment. Until that day comes, however, keep the shine on your chrome-plated taps by using any one of these 4 ingredients. Use them after you’ve cleaned your chrome plated taps.

  • Baby oil – squirt some baby oil on a cloth and buff up your chrome taps to give them a shiny finish. The oil will also ward off water spots.
  • Flour – rub the chrome-plated taps with flour and rinse with water. Then buff with a soft dry cloth.
  • Wax paper – rub your cleaned taps with wax paper. Sounds crazy, but the wax will protect the taps from water spots and fingerprints.
  • Toothpaste – if you have spots on your tap that reduce to shine, buff them with toothpaste and a dry microfibre cloth.

Hire professionals

If you prefer to spend your free time on more pleasurable activities rather than scrubbing your taps, then hire professionals. ShiningOven works with experienced and fully-equipped local cleaners. They will make your bathroom spotless and clean. You can also hire us, to clean your entire home on a regular basis, should you need it. Get in touch today and forget about breaking a sweat whilst cleaning.

New oven smell and how to remove It

New Oven Smell and How to Remove It

Have you purchased a new oven recently? Congratulations! You are now ready to unleash your inner culinarian. But the excitement of a newly bought appliance can quickly be dawned by a smoky oven and an odd smell of burning plastic or chemicals lingering in the air.

However, don’t be alarmed, yet. Though unpleasant, the new oven smell is completely normal. The first time a new oven is turned on, it often emits a strange odour that can be compared to burning plastic or burning rubber. The best way to eliminate the bad smell is by eliminating the reason behind it. If you are curious about what causes a new oven smell and how to remove it, here you will find useful tips and tricks that will help you deal with this smelly situation.

What causes the new oven smell

According to specialists, a new oven smell, most of the time, shouldn’t be alarming and can be caused by several factors. Here are the most common causes:

  • The insulation in the oven’s cavity is being exposed to extreme heat for the first time.
  • The protective coating of oil and other chemicals that have been used during the manufacturing process are being scorched off.
  • Forgotten zip ties that have been used to hold the inserts in place during transit.

It is important to mention that an odd smell can occur in old ovens, too. This can be caused by cleaning with strong chemicals or an oven malfunctioning. Also, you can be using a new inner accessory that is not suitable for heating at extreme temperatures or is coated in oil.

Is the plastic smell dangerous

While inhaling plastic fumes can be dangerous, keep in mind that the emitted smell might not be coming from burning plastic. Scorched coating oil can smell similarly and mislead you. Check with your manufacturer’s instructions for warnings of possible smells. But be assured that unless the smell is coming from burnt plastic, you needn’t worry, the new oven smell is normal and isn’t dangerous for your health.

Still, if plastic is actually burning, the let-off fumes can irritate your lungs and contain toxins. Turn off the appliance immediately and open all windows for good ventilation. In case you have a bird for a pet, keep it away from the kitchen as plastic fumes can be lethal for them.

Do you need to do a burn-off for a new oven?

To avoid a situation where a freshly prepared meal in your new kitchen appliance smells like burnt plastic, we recommend you do, as most experts refer to it, a “burn-in” before cooking in the oven for the first time. This process will make sure to burn off any residue of coating oil and eliminate the unpleasant smell. If the “burn-in” process doesn’t get rid of the oven smell after the first time, repeat it again. Also, check with the user manual for recommendations.

Now, let’s get to work! Here is what you need to do to burn off a new oven smell:

  1. Turn on the ventilation fan and open nearby windows.
  2. Set the oven to 200-250C and leave it for 30 mins.
  3. Turn the heat off and let the oven cool down.
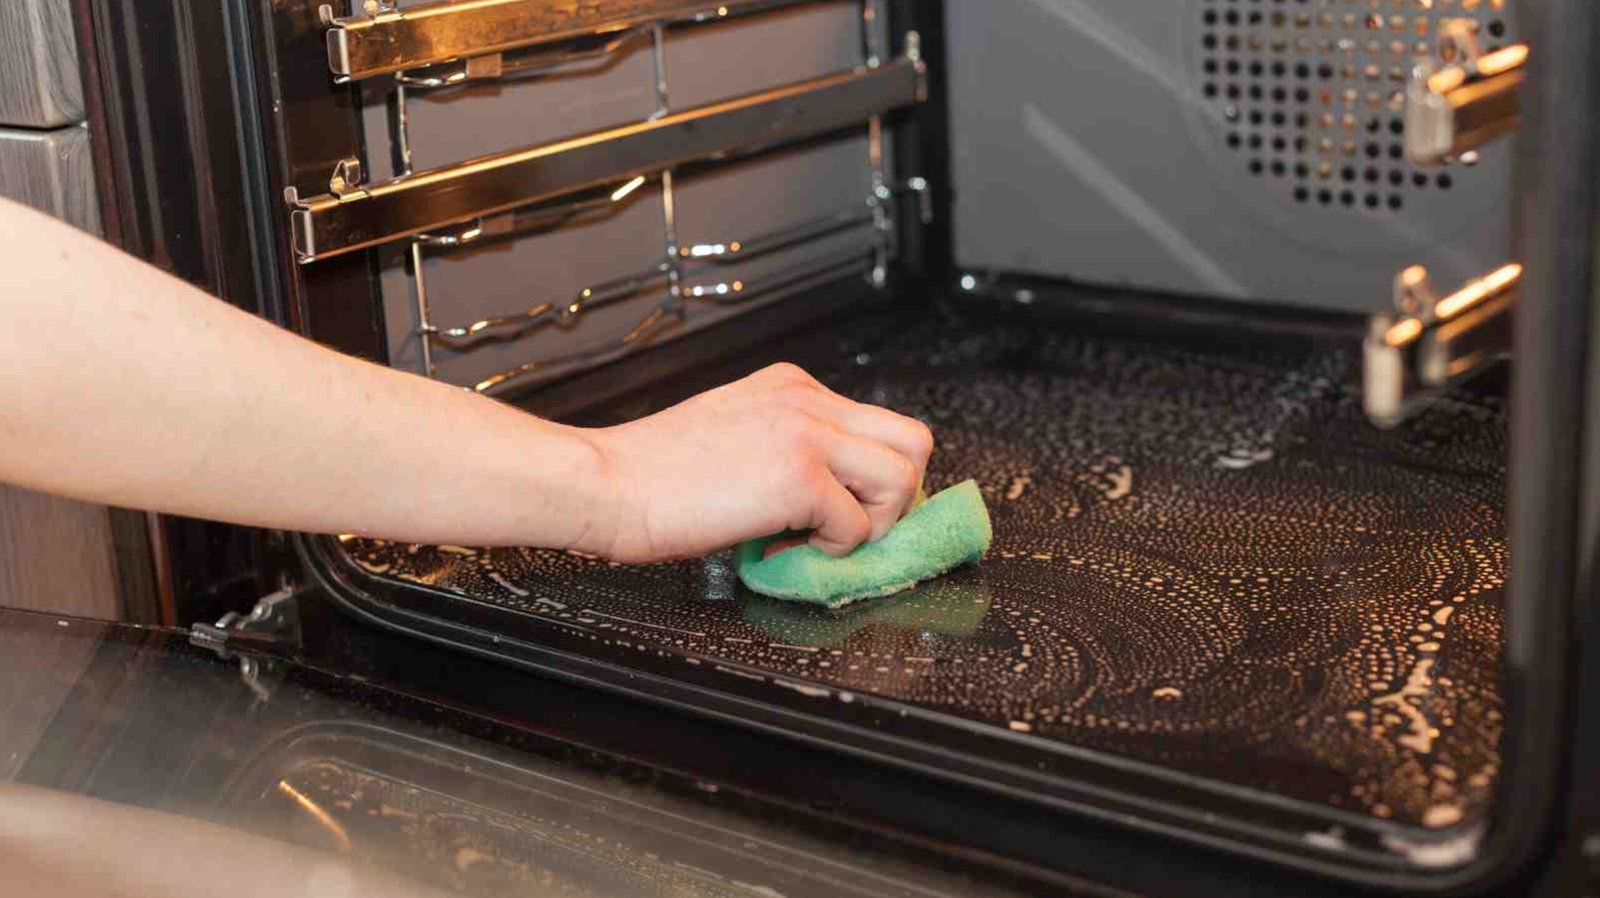
  4. Wipe down the inside of the oven with warm soapy water and a soft cloth.

Cleaning tips before the first use

Before you carry out your first culinary attempt in the new oven, there are some small things you can carry out to make sure your appliance is clean and off-gassed. Check our cleaning tips below:

  1. Ensure all packaging and zip ties are removed.
  2. Wipe down the oven racks and inner surfaces with a damp, soapy cloth.
  3. Perform the “burn-in” process following the above-mentioned steps.
  4. Wipe down and repeat the “burn-in” if necessary.
  5. Steam clean the oven by adding water and lemon juice in an oven-safe bowl and turning the heat up to 220 degrees.

So, there we have it, your guide for removing the smell from a new oven. A few things to remember are that in some instances, new ovens emit a burnt smell and smoke when used for the first time. Don’t worry about the new oven smell, it’s not dangerous, as long as it does not come from burning plastic. The “burn-in” process should be performed when a new oven is purchased to eliminate unwanted odour. Booking a professional cleaner is an easy way to get rid of a new appliance smell and deep clean your kitchen.

Hire a professional oven cleaner

These methods sound easy to pull off on paper, but if you lack enough time and especially the willpower, they can be quite overwhelming. Fortunately, you can save yourself the time and trouble by giving Shining Oven a call and booking a oven cleaning dublin technician. The pro will disassemble your convection oven and clean each part separately in a matter of 2 to four hours. Afterwards, he will put everything back together and test run your convection oven. Your cooker will get back its former shine while you spend your time on more pleasurable activities. Book your oven cleaning today!

How to clean the bottom of an oven

How to clean the bottom of an oven

If it’s a job you hate, you’re not alone. Oven cleaning ranks as one of the least favourite domestic chores. But dirty ovens don’t work well, food cooked in them gets tainted with stale or unsavoury flavours and at worst they can be a fire risk. So sooner or later the job has to be done.

In the long run, regular cleaning is much easier than tackling the bottom of the oven when you just can’t bear to look inside the appliance anymore. But even if you’ve neglected your oven, the right tools and materials and a little bit of know-how will cut down on the time and effort involved in returning your cooker to cleanliness.

This post is for you if:

  • You don’t know the best way to clean your oven floor.
  • Want to know what materials and detergents are best for oven cleaning.
  • Are having a hard time getting rid of baked-on grease or food debris from your oven floor.

What you need

Before you start, gather together the tools and materials needed for deep oven cleaning. These will vary slightly depending on exactly how you decide to do the work but are likely to include most of the following:

Tools

  • Protective sheets or newspaper
  • A plastic or silicone spatula
  • Rubbish bags
  • Rubber gloves
  • Safety goggles
  • Disposable cloths or paper towels

Materials

  • General-purpose kitchen cleaner
  • Specialist oven cleaner
  • Baking soda
  • Hot water
  • A spray bottle
  • White vinegar

How to clean an oven bottom with baking soda

Unplug the oven if you can. Make sure it’s switched off.

Whatever method of oven cleaning you’re planning to use, start by spreading protective sheeting, cloth or newspaper in front of the oven and take out all racks, thermometers or any other removable components. Racks and trays can be soaked in hot water with detergent to loosen the grease then scrubbed off and rinsed later.

  1. Put on your gloves, it’s going to be a dirty job. And since you don’t want to splash anything in your eyes, don those safety goggles too.
  2. Mix a baking soda paste, there are various recipes for this. You can use water or mix a baking soda and vinegar oven cleaner. Vinegar adds cleaning power but will cause the mixture to fizz. The paste should resemble a thick batter so it will stick to surfaces.
  3. Make as large a quantity as you need to clean the bottom of the oven and while you’re at it you might as well do the sides too. Don’t coat heating elements. Baking soda is inexpensive so be generous. Dirty spots on the bottom of the oven should be coated with around a quarter of an inch of paste.
  4. If the cooker is very dirty, once it’s coated, close it up and forget about it for at least 12 hours. It’s best to leave the mix overnight. Oven cleaning is a great excuse to order in a takeaway!
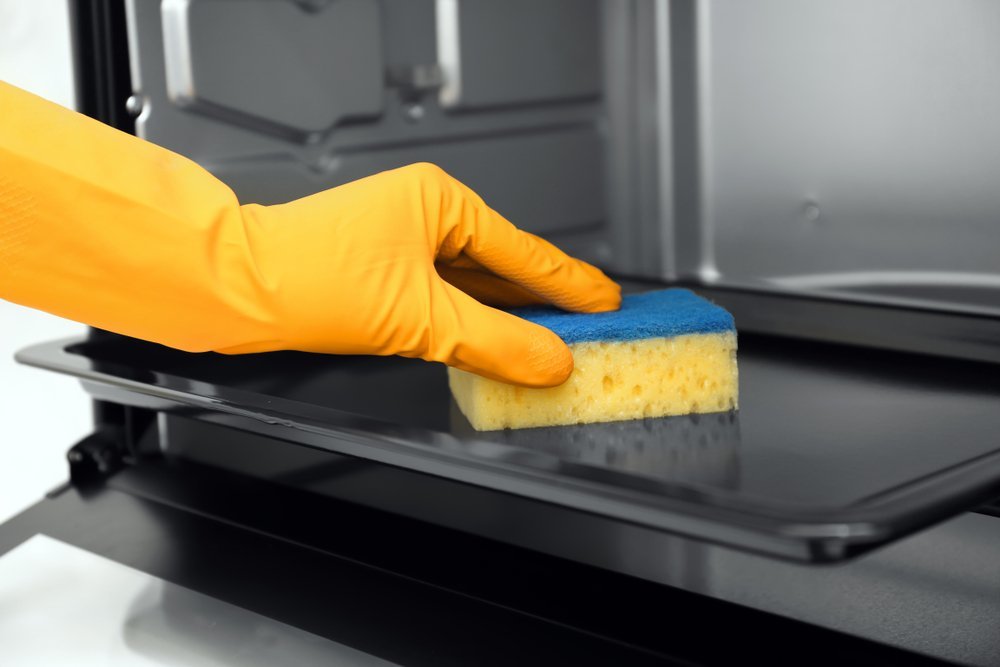
  5. Once the cleaning paste has had time to do its work remove it with dampened disposable cloths or paper towels. This is going to take some time. Once you’ve removed all the paste you can with cloths use a spray bottle to apply vinegar to the surfaces. The vinegar will cause any remaining soda to fix, which makes it easier to spot and easier to remove. Again, wipe away the dirty mix using disposable or paper towels. Once the oven is dry you can replace the cleaned racks and trays and you’re good to go.

How to clean an oven bottom with vinegar

Even when you’re relying on baking soda as your primary cleaning ingredient, vinegar plays a crucial part as well. Some people dispense with the soda and rely much more on the grease busting properties of vinegar to get the oven clean. Here’s how to clean the bottom of your oven with vinegar:

  1. As with baking soda, start by putting on your protective equipment spreading protective covers on your kitchen floor, and remove loose debris from the oven.
  2. At this stage, you’ll need to put a single rack back into the bottom of the oven and switch it on. Fill a large metal pan with hot water and add half a cup of white vinegar. Put the pan in the oven and heat the oven to 180 degrees C. Let the water bubble and steam until the vinegar has had a chance to coat all the surfaces, that’s likely to take around 30 minutes to an hour.
  3. Turn the oven off, open it and spray down the sides with a half and half vinegar and water mix. Be careful as you do this, the oven will still be hot. Close the oven up and let the mix do its work for a few hours.
  4. Once the oven is fully cooled you can open it up and wipe it out. If there are any stubborn marks remaining, spray with more vinegar or scrub with vinegar and soda paste. One advantage of this method is that the vinegar steam will also break down grease on the oven glass door.

How to clean an oven bottom with kitchen cleaners

If you’re not convinced by natural cleaners there’s no reason why you shouldn’t use bought products instead or as well. If you’re one of those virtuous people who really do clean out the oven with every use then wiping down the oven bottom with a strong washing up liquid solution may be all you need. Just be sure to rinse thoroughly so your next meal doesn’t taste of soap!

If the oven bottom needs more than a quick wipe, you have a couple of options. Follow the usual steps to protect your floor and yourself then:

  1. Use baking soda as above but add a few drops of commercial cleaner to it.
  2. Soak a rag with a 1 part cleaning product 4 parts water mix and lay it on the base of the oven. Wet the rags afresh every few hours. Once the burnt-on grease is softened wipe it away with dry rags or paper towels.
  3. Start with the vinegar steam as described above then use a strong washing liquid or general kitchen cleaner to remove dirt on the oven bottom.
  4. Buy a specialised oven cleaner and follow the instructions on the bottle.

How to clean a self-cleaning oven bottom

If you have a self-cleaning oven you may potentially be able to cut down on a lot of work. There are however a few things you should be aware of.

  • Don’t use the self-clean feature if there’s debris on the bottom of the oven. The oven cleans by heating to a very high temperature and if there’s lots of accumulated grease, you’ll end up with a very smoky kitchen at best. At worst you could start a fire.
  • Wipe down the inside of self-cleaning ovens regularly but don’t use harsh chemicals that could damage the self-cleaning coating. Check your owner’s manual to see what products you can safely use on your self-cleaning oven.
  • Since the cleaning feature works by burning off dirt make, sure the house is well ventilated. Pets that can be affected by the fumes from self-cleaning should be removed from your home.
  • Declare the kitchen out-of-bounds to children or any vulnerable people. The oven is going to get MUCH hotter than normal and you don’t want anyone to get burnt.
  • Try to keep self-cleaning cycles to a minimum. Some people believe that the very high temperatures required to achieve cleaning could shorten the life of the oven.

Install an oven liner

It’s possible to buy oven liners that can be fitted to your oven base. Some are designed to be used a few times then disposed of, others can be cleaned, maybe even in the dishwasher.

The simplest liners are made of aluminium and are generally intended to be discarded when they get dirty. Don’t be tempted to just use baking foil though it’s too thin.

Alternatively, opt for a liner made of food-grade silicone, these can tolerate high temperatures but do check their rating before cooking at the very top of your oven’s range.

If you have a gas oven or your heating elements are in the base of the oven you’ll need to use liners on the bottom shelf or rack as they won’t withstand naked flames or direct contact with the elements.

Contact professionals

So now you know how to clean your oven. But you may decide you don’t want to. That’s perfectly fine as there are professional cleaners that will do the job for you.

Specialist oven cleaners use eco-friendly cleaners and bring tanks to clean racks, trays and other removable components while they’re tackling the main body of the oven. They’ll take the oven apart, clean everything, put the oven back together, test it and make sure they leave your kitchen clean before they leave. Book professional oven cleaning today and save yourself the hassle!

How to clean oven trays

How to Clean Oven Trays

Baking is fun, but do you know what isn’t? The sticky oven tray left after the cooking adventure. Unlike other cookware, oven trays have the nasty habit of collecting numerous types of stains: greasy, sticky, rusty ones, and let’s not forget those burnt spots. What a “pleasant” sight, right? 


In this article, we are going to discuss the best way to clean oven tray stains in a fast and easy way. Without further ado, let’s start with… 

Types of oven trays

Before we get into the actual “How-to” part of the article, first we must talk about the types of oven trays. The material will determine the best way to clean your oven trays.

  • Stainless steel. Stainless steel is your best bet when it comes to high-quality cookware. If you’ve ever cooked in this type of material, you know what we mean. Besides making adventures in the kitchen easier, stainless steel is also very sturdy. Still, the above-described qualities don’t make the metal invincible – stainless steel gets dirty and will form rust over time. 
  • Aluminium. If we have to compare aluminium kitchen utensils to stainless steel ones, we can describe the whole experience in one sentence – It still works. However, the material isn’t as sturdy as the pricier option and it rusts a lot quicker, too. 
  • Glass. Basically, glass cookware looks good when it’s new. After a couple of uses, the material forms a brown tint and greasy gunk starts building up. In terms of durability, we don’t need to tell you what is going to happen if you drop a glass, well, anything on the ground.

How to clean oven trays without baking soda

So, your last cooking attempt went a bit out of hand and now you are wondering how to remove baked-on grease from baking trays. Fear not, we’ve got the answer right here:

  1. First, with the use of a paper towel, remove as much of the grease from the tray as possible. 
  2. Prepare a little bath for the tray in your kitchen sink, by filling it with hot water and dishwashing liquid. 
  3. Dunk the tray into the soapy water and leave it there for a good hour. If the water doesn’t cover the whole thing, make sure to turn it over from time to time. 
  4. Get a sponge and start scrubbing. Depending on the type of tray you are working on, you’ll use a different sponge – a soft one for non-stick materials and a little more abrasive type for other surfaces. 
  5. Give your tray a final wash with cold water and inspect the results. If you can still see grease spots, repeat the last step or place it in your dishwasher. 

How to clean oven trays with baking soda and vinegar

  1. Put equal parts of baking soda and white vinegar in a sink filled with hot water.
  2. Place the tray in the sink and let it soak for an hour.
  3. Then grab a non-scratch scouring pad and scrub well.
  4. Your baking tray should be clean as new. 

How to clean oven trays from rust

Ah, rust – every metal kitchen tool’s nemesis. Many people think that there is no way to restore the initial state of their favourite, expensive stainless steel oven tray. The good news is that this is not true and the bad, well, – you are in for a lot of scrubbing. Here are a few rust removal methods that you can try out :

Take care of rust with an ordinary steel wool

Get yourself some steel wool and carefully start removing any rust from the surface of the tray. Lubricate the area you working on with dish soap to avoid scratches. If you happen to be working with a more capricious type of material, scour the tray with fine steel wool. 

Combine lemon juice and… cream of Tartar 

This solution may sound a little weird, but a lot of people swear by it. Basically, when you mix equal parts of lemon juice and cream of Tartar, you create an exfoliant for your tray. Whip up a good amount of the paste and smear it onto the piece of cookware. Work the mixture into the rust spots. After a while, you should see the oxidation flaking off. Once you’ve removed every single bit of rust, rinse the tray with cold water. 

Clean oven trays with baking soda and potato

Get a potato. Any potato. Slice it in half and cover the cut part of the vegetable in baking soda. You can prepare a plate with more baking soda on it to dip the potato when needed. Now, take your potato and start rubbing it onto the rusty areas of your tray. Note that this method is suitable for thin rust layers. After all of the rust bits are gone, rinse the tray with water and you are done. 

How to remove baked on grease from oven trays

Baked on grease can make any kitchen tool look, well, dirty. To remove them from your oven tray if you’ve recently used it, first, get a paper towel and wipe as much of the grease off as possible. After that, boil some water, pour it into your kitchen sink and add one cup of baking soda. Soak the dirty tray for an hour or until the burnt grease have softened up. Drain the dirty water and with an old cloth, try to wipe away the crusties. If the burnt bits refuse to come off, repeat the whole cleaning process. Once you’ve removed them, rinse the tray with clean water and you are done. 

How to maintain baking trays

After all of that soaking and scrubbing of nasty oven trays, you’ve probably started thinking about how to avoid such scenarios in the future. Here are a few oven tray maintenance tips that will definitely help you out:

  • Protect your oven from burnt-on stains by lining it with baking paper or aluminium foil when using it.
  • Remove as much of the leftover grease from the tray right after transferring the food. 
  • Place all of your cookware in hot soapy water after each use to loosen up the grease. This will make washing them a lot easier afterwards.
  • Avoid the use of harsh abrasive tools like wire scourers if your tray is prone to scratching. Such materials can damage the surface of the tray you are trying to clean, making cooking a nightmare later.

Get your oven professionally cleaned

You’ve probably gathered by now, that oven cleaning, in any form for that matter, is a major pain. The whole endeavour is greasy, sticky, smelly, and on top of all that – time-consuming. With that being said, why not get a professional to complete the troublesome task for you?

ShiningOven offers expert oven cleaning solutions that can transform even the greasiest cooker out there, as well as its accessories like the oven tray. Our services are performed by trained cleaning experts, who work with industry-grade cleaning products and materials. The service is suitable for all types of ovens and you can even schedule a cleaning session for your barbecue, too!

Make your appointment with us in a matter of minutes for a time and day most convenient for your busy schedule. Restore your oven with the help of ShiningOven today! Book a service

How to remove melted plastic from your oven

How to Remove Melted Plastic from Your Oven

Nowadays, plastic kitchenware can be found in almost any kitchen and has become a part of everyday life. However, with that, a problem has arisen – the misplacement of such flammable kitchenware in or on top of running ovens. It should go without saying that burning plastic is neither good for you nor your cooker, but what’s even worse is the melted residue it leaves behind. In this guide, we have covered several ways on how to clean melted plastic from your oven and hopefully, they will work for you.

So if you: 

  • Accidentally forgot a plastic tray in your oven while it was on.
  • Are wondering how to remove melted plastic off your hob.
  • Misplaced a plastic bag on top of a wood-burning stove.

Then keep on reading!

Cleaning melted plastic from inside the oven

It might sound a bit bizarre, but people forget plastic objects inside their ovens more often than you think. The aftermath of this is usually a splatter of melted plastic inside the oven, accompanied by a putrid burnt smell. This completely destroys the taste of any future cooked food if not cleaned on time.

When cleaning melted plastic from an oven, you can rely on either the cold or the warm method.

  • Cold method – Use cold temperatures to freeze the plastic. This makes it more brittle and easier to break off with a knife or a scraping tool.
  • Warm method – Use heat from the oven to melt the plastic and then scrape it off with a wooden spoon when it has softened up a bit.

Electric and gas ovens

When removing melted plastic from the inside of an electric or gas oven, it’s preferable to go with the cold method. Start off by placing an ice bag on top of the plastic and let it sit until the ice melts. Once the residue becomes hard, use a scraping tool to remove as much of it as possible. With this particular method, it’s usually fairly easy to remove big chunks of plastic with minimum effort.

When you remove all of the residue, clean the inside of the oven using some detergent.

Before going ahead and cooking, run the oven on high heat to make sure no plastic was left behind after the clean.

Self-cleaning ovens

Self-cleaning ovens tend to be a bit trickier, as you can’t really use the cold method here since it might damage the coating of the oven. Therefore, your safest option is to go with the warm way. Before you start the procedure, crack a window open and switch on the extractor hood. Now with that out of the way, turn the oven to the lowest setting.

Wait for the plastic residue to soften up a bit and then use a wooden spoon to scrape all of it off. Try to avoid using tools that can end up damaging the oven and getting in need of oven repair service. Once you’re done with removing most of the plastic, run the self-cleaning cycle of the oven to burn any small remaining residue.

Heating element

To get melted plastic off an oven heating element, you can follow the instructions below:

  • Turn the extractor on (you can also use a fan).
  • Turn the surface unit on, on the lowest setting.
  • Once the plastic softens a bit, use a wooden spoon to scrape as much of it off, as gently as possible.
  • Turn the unit on the highest setting, to burn whatever remains of the plastic.

Oven racks

The best way to clean melted plastic off oven racks is through the cold approach.

  • Take the racks out of the oven.
  • Place them in the freezer or inside a tub between two ice bags.
  • Wait for 30 minutes for the icy temperature to harden the plastic.
  • Once it’s nice and frozen, scrape it off gently with a knife (be careful not to scratch the metal racks).

Ceramic and glass stove tops

Getting melted plastic off a ceramic or glass hob can be quite troublesome, especially when you’re trying so hard not to damage the glass surface. However, if you don’t remove the plastic and just leave it be, it will render your oven top completely useless.

A great way to approach the cleaning of the hob is through a tweaked version of the warm method. Fill a pot with boiling hot water and using a tablespoon, apply the water onto the plastic. This will loosen it enough for you to scrape it off easily using a putty knife.

Cover whatever remains of the plastic with some baking soda and let it sit for a few minutes. Use a microfibre cloth to scrub off the remaining residue off. You might need to repeat this process a couple of times depending on how much plastic is still left on the hob. After all of the residue is gone, clean the top using some soapy water and wipe it off with a microfibre cloth.

Gas and electric stove burners

To remove melted plastic from coil and disk burners, you will first need to get some degreasing detergent (something like WD-40 will do the trick). This will make all the nooks and crannies of the hob easier to clean in one go.

First, make sure the oven is switched off. Then apply the degreasing detergent on top of the affected area and let it sit for a few minutes. Use a scraping tool to remove all of the plastic.

Removing melted plastic from a wood-burning stove

Ironically, wood-burning stoves make for great shelves, however, that doesn’t mean you should use them as such. Yet, if on the off chance you forgot some plastic items on the hot cast iron stove and are now left with a patch of gooey plastic, don’t fret, it’s treatable. All you will need is a putty knife, oven cleaning solvent, detergent and a microfibre cloth.

  • Place a fan in close proximity to the wood burning stove.
  • Start the stove and wait for the plastic to loosen up a bit.
  • Use the putty knife to carefully scrape the melted plastic off the warm surface, without damaging the surface.
  • Stop the stove and wait for it to cool down.
  • Treat the affected area with an oven-cleaning solvent to dissolve the remaining plastic residue.
  • Clean the hot cast iron stove with a soapy detergent and then wipe it off with the microfibre cloth.

Remember that leaving your oven unattended after plastic has melted on or in it can prove to be detrimental to your health. Aside from the horrible smell it emits, the plastic also produces toxic fumes that can mix in with your food which could, in turn, lead to food poisoning.

Therefore, it’s essential that you clean the residue off the oven as soon and as thoroughly as possible. This way, you can get back on track with cooking and enjoying your tasty homemade meals before you even know it.

Looking to hire a professional oven cleaner?

Shining Oven got you covered! We offer professional oven cleaning with disassembly, using the so-called dip-tank method. The specialists, we work with, use strong detergents which not only kill bacteria but also harmful carbon residue. And what’s more, you can start using your cooker right away, after the service!